

Springtime Gardening
Springtime Gardening
Getting Everything Ready to Grow

It is time to prepare for springtime planting. For my homestead this means starting seeds inside and clearing up last year’s garden.
It’s important to know what you want to grow and how much of it you’re going to need.
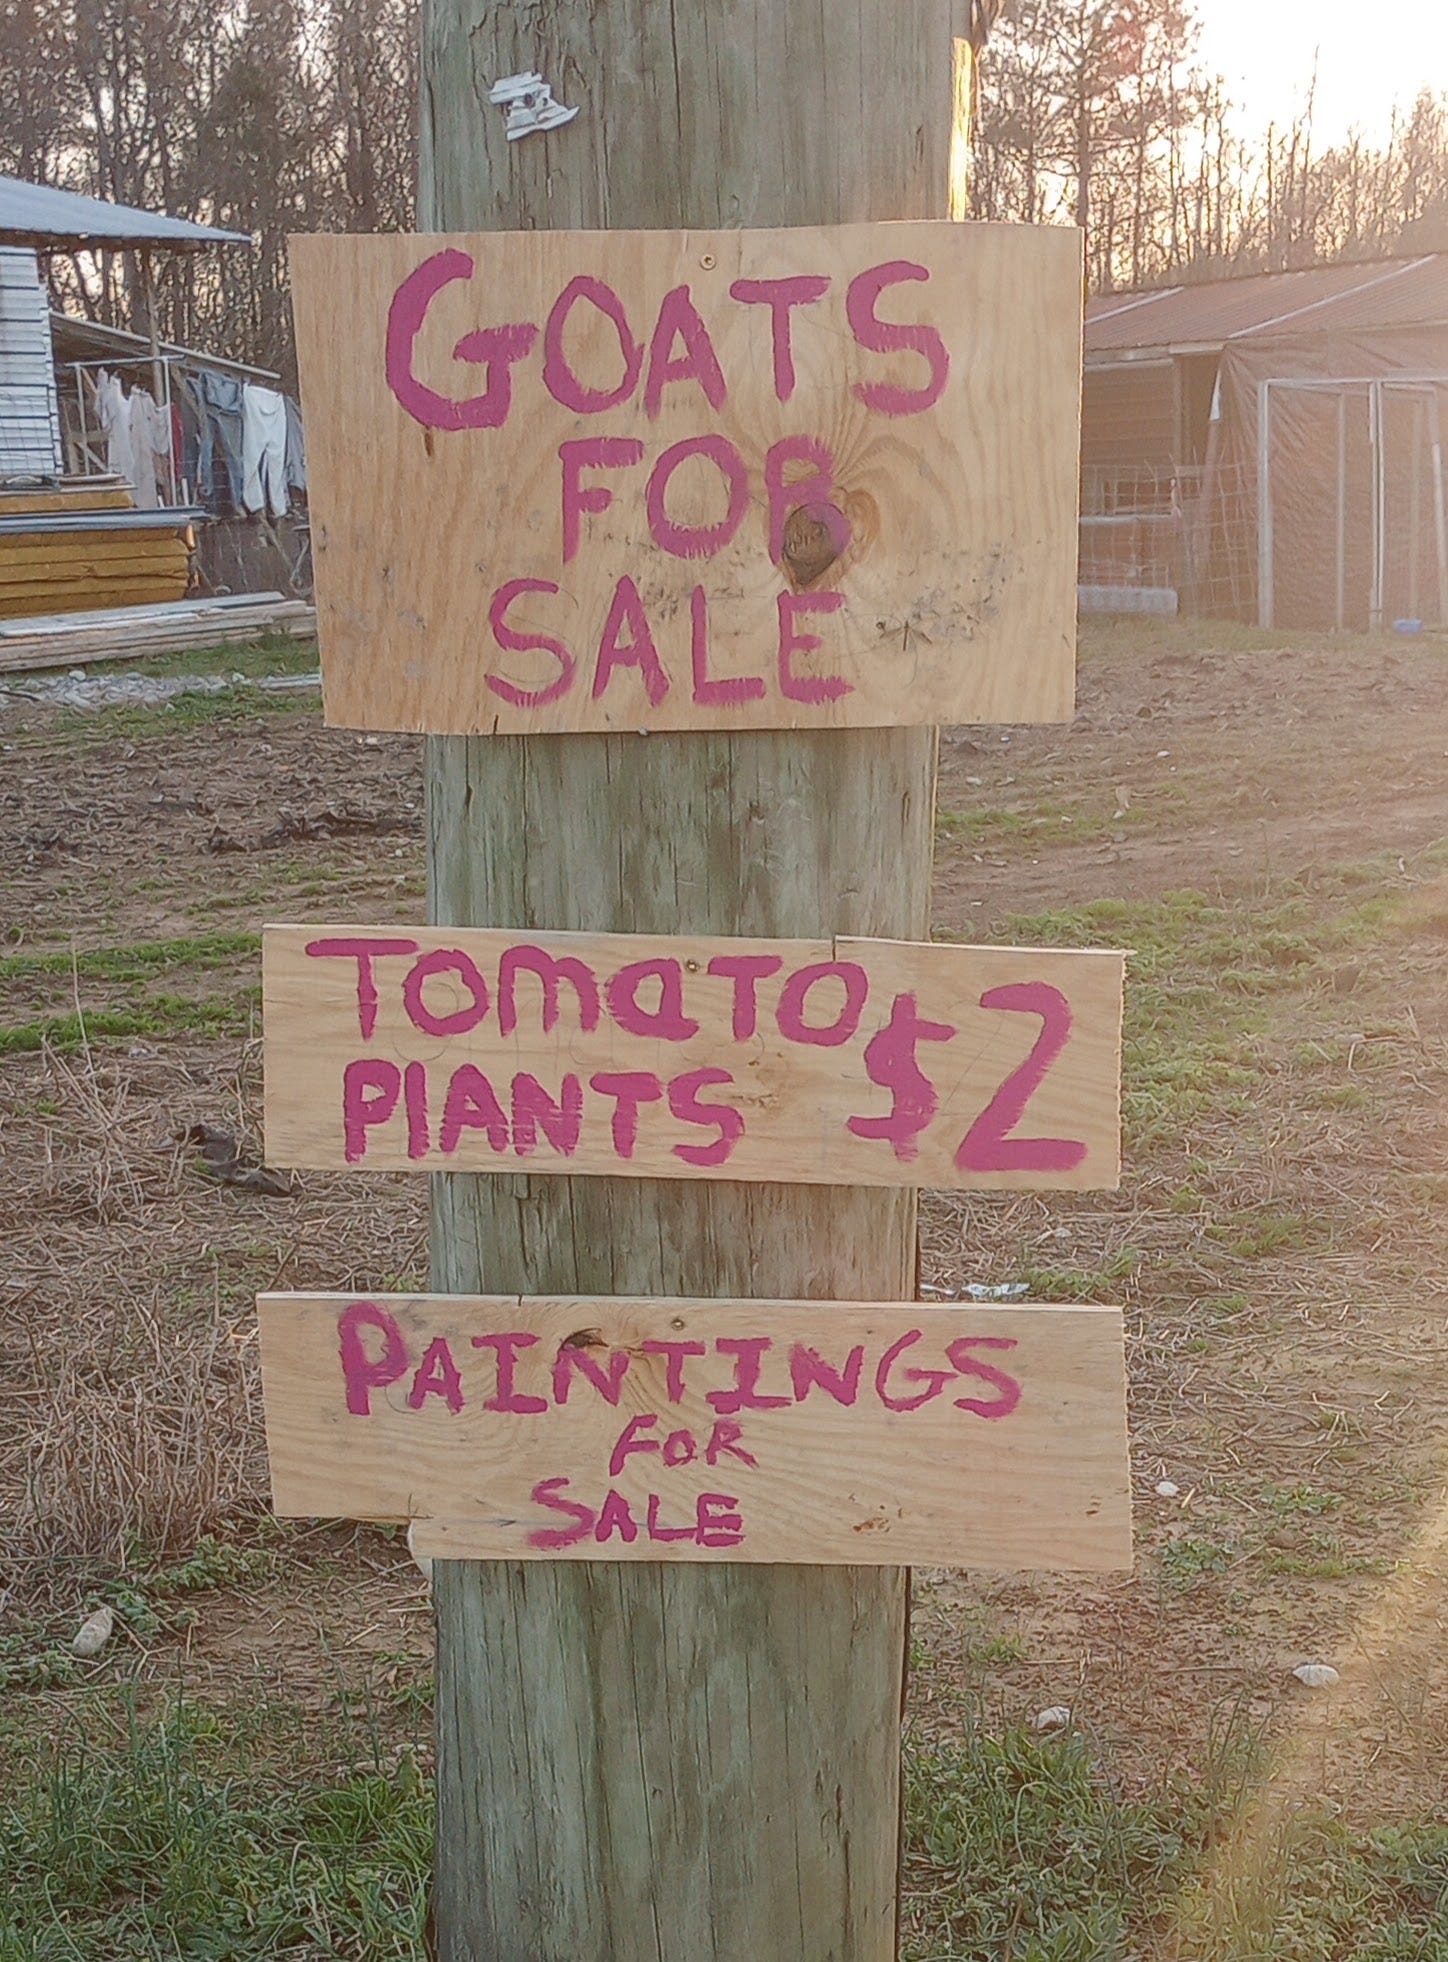
This year I plan to grow tomatoes, peppers, cabbage, cucumbers, okra, summer squash, green beans, corn, onions, carrots, potatoes, garlic, radishes, and whatever else I think of between now and time to plant.
Over the years I have grown different types of tomatoes. Year before last, I started Better Boy seeds, Amish paste tomato seeds and cherry tomato seeds.
On the day I was ready to transplant the seedlings from their starter pots into the garden, I took them outside and placed them on the trunk of my car while I gathered gardening supplies. And the wind blew. The starter pots ended up on the ground, plants and labels scattered everywhere! Tomato plants all look alike and I couldn’t tell them apart. I wasn’t about to waste the young plants though, so I planted them all in a row in the garden. Everything cross-pollinated and I ended up with very large amish paste tomatoes, yellow better boys and medium sized orange tomatoes. They were all very good, just not what I had intended to grow.
This year, I plan on sticking with one all around good-for-everything tomato, the Rutger. I was advised by several Appalachian elders that Rutger tomatoes make great sauce, are perfect for canning and taste great on a ‘mater sammich.
Normally, I take the gamble and transplant my tomatoes into the garden in April in a feeble attempt to prolong my growing season. I have 16 plants that will be big and strong enough to go in the ground by April. If, by chance, these get hit with a late Spring frost, I also have 16 back-up plants that were started two weeks after the original 16. If I get lucky and don’t need them, I can give them away.
Nanny (my late grandmother) always waited until after Mother’s Day to transplant her tomato and pepper plants into the garden so they wouldn’t be lost to a late frost. I trust her wisdom, but with the tomatoes, I like to have those few extra weeks of growing time if I can get them.
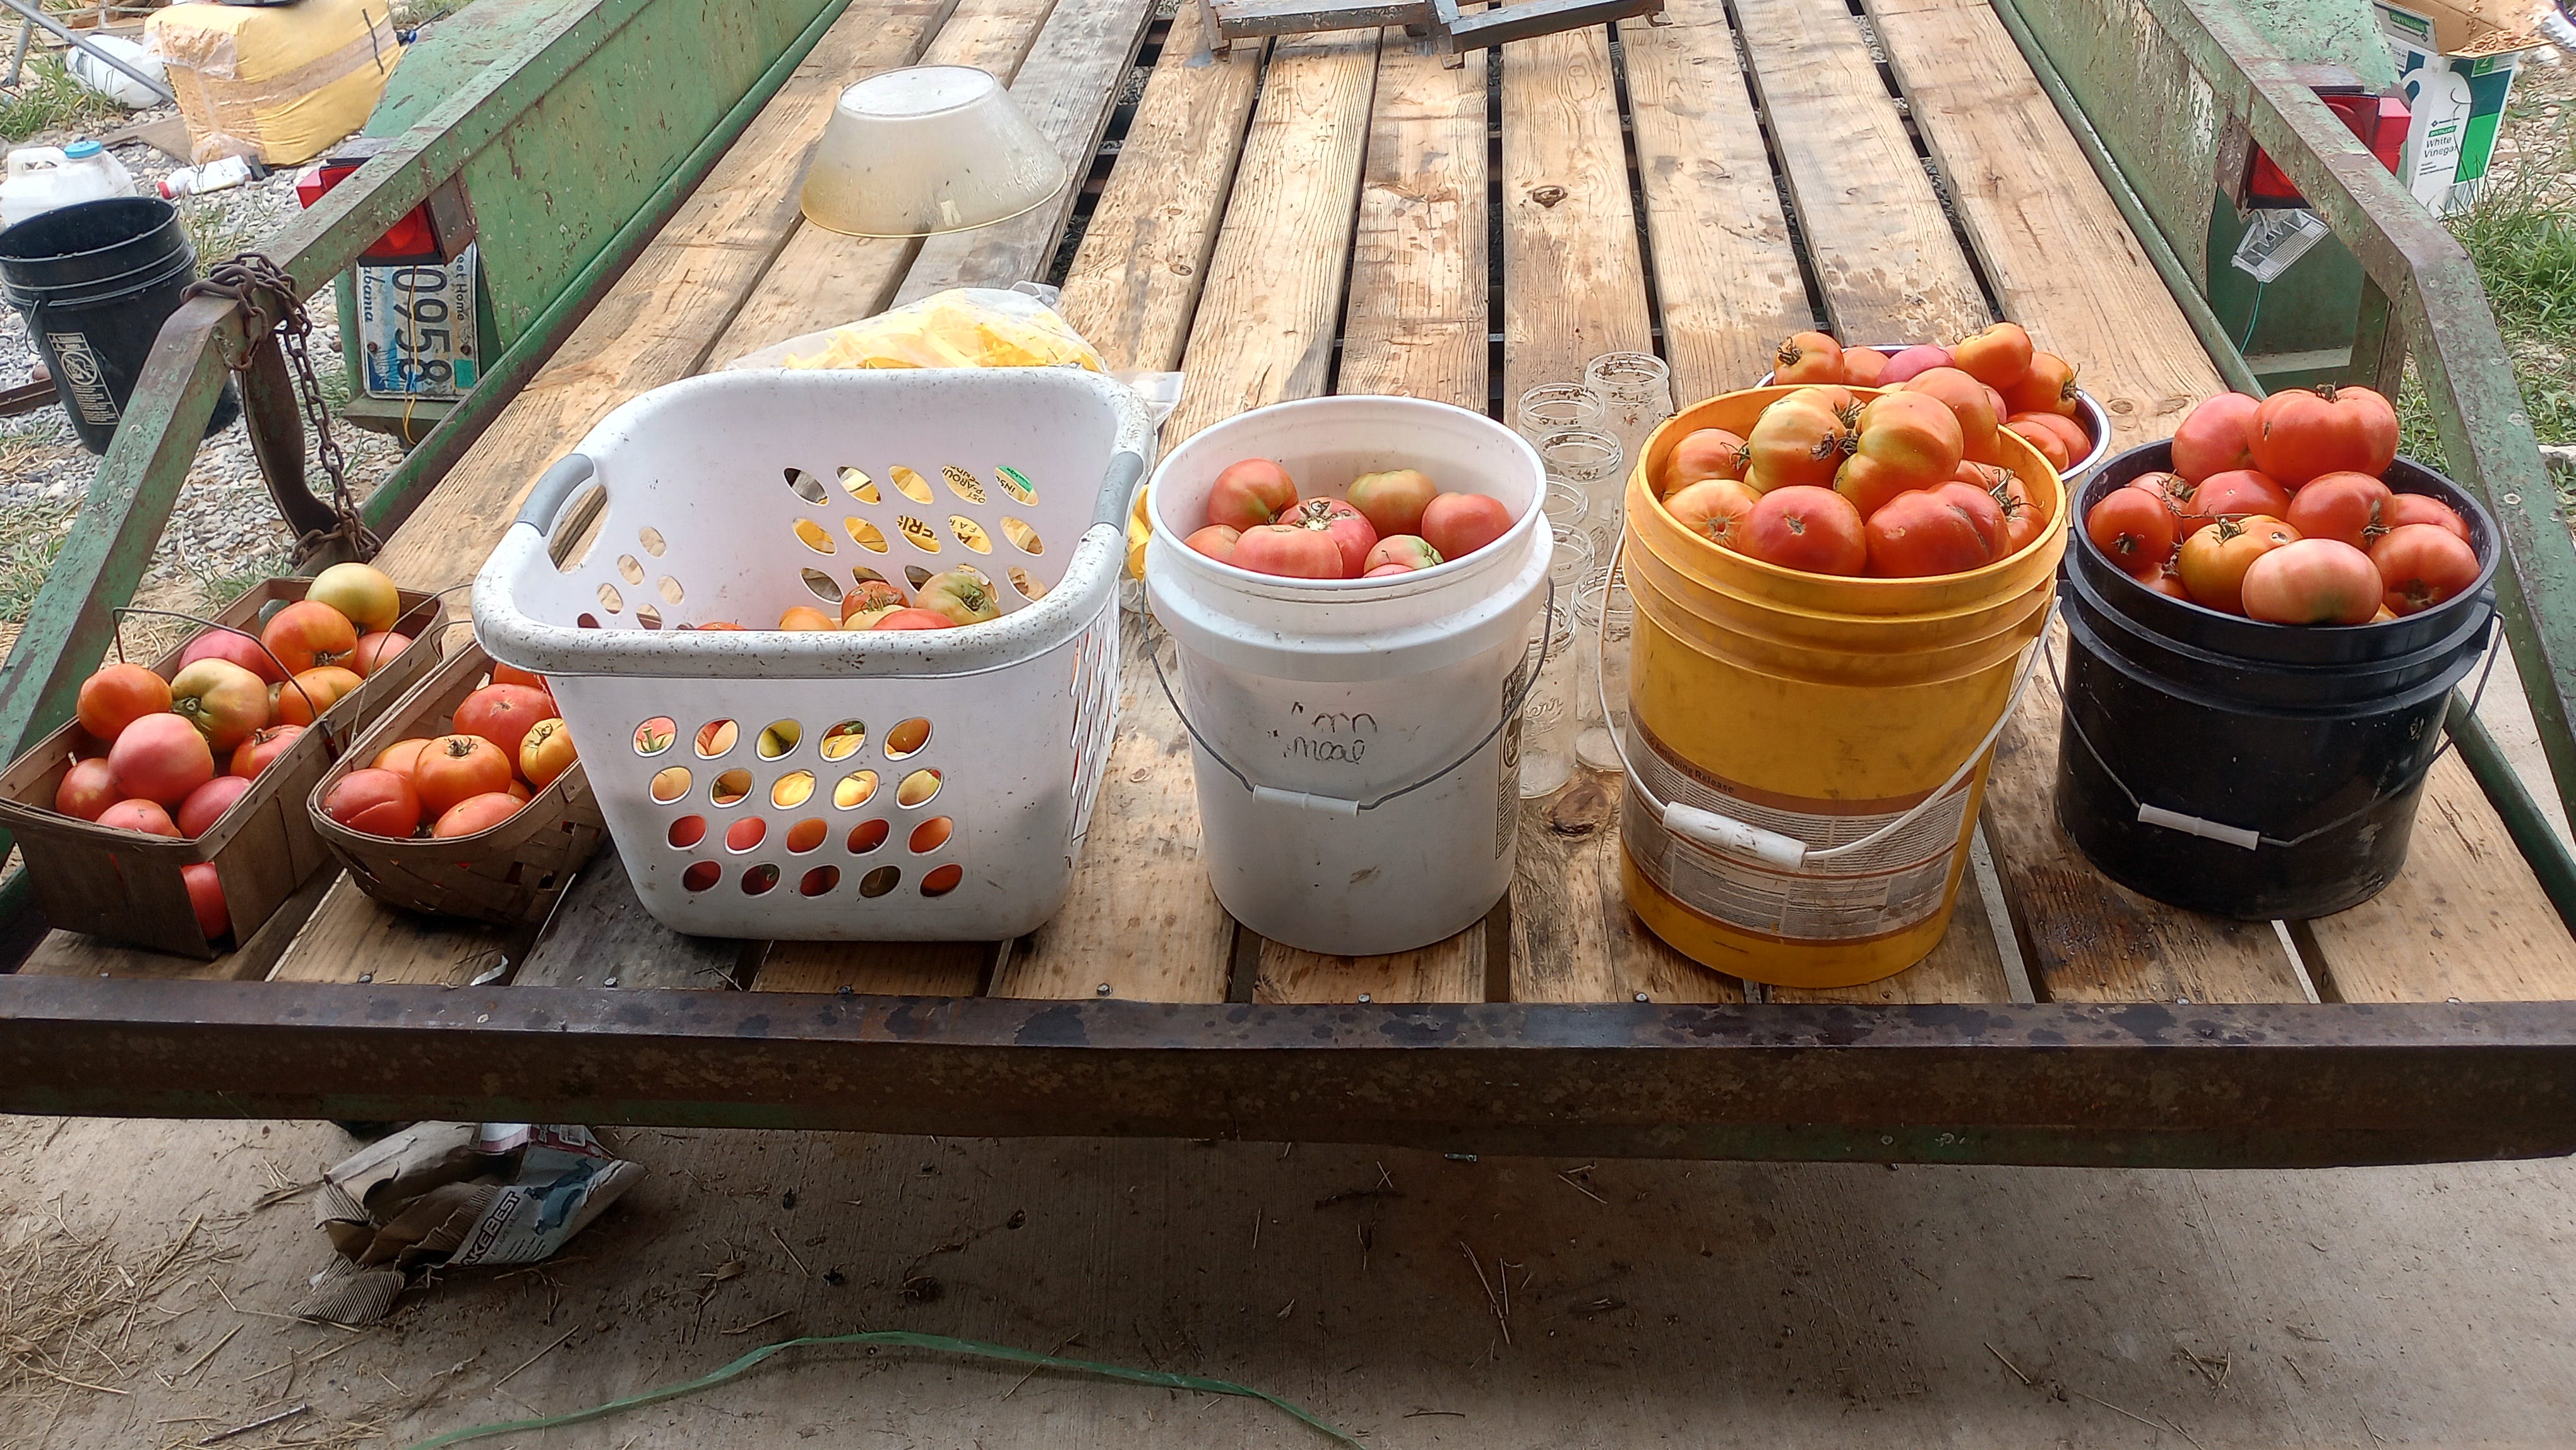
Our family uses tomatoes in almost every meal. I make and preserve tomato sauce in mason jars. I preserve diced tomatoes. Dehydrated tomatoes can be ground to make tomato powder which can be used as a seasoning, or turned into tomato sauce or paste by mixing the correct ratio of powder and water. The more tomatoes I can grow, the better for our family.
I started my seeds in plastic cups this year because I had them on hand. They were left over from my daughter’s birthday party in January. You can buy starter trays from any garden supply store, or online, but I’m frugal and can’t stand to be wasteful. This was a good use of the cups.


I drilled a small hole in the bottom of each cup for drainage, filled the cup with ProMix potting soil, placed one seed about ¼ inch deep and covered it gently. For seeds and tiny seedlings, I water them using a spray bottle on mist or light spray. The cups are then placed on shelves inside my home equipped with grow lights. I usually see the tiny green sprouts within about a week to 10 days.
My first tomato starts are about 6-7 inches tall now. The back-up starts are about 3-4 inches tall. They will remain inside under the lamps until mid to late April.
Peppers
On Monday, we started several varieties of pepper seeds in cups. We grow green bell peppers every year. This year we also started seeds for cayenne pepper. I received them as a Christmas gift from a member of the Crochet and Knitting group we see each week at the Library. (I LOVE libraries!!). Cayenne has many uses as a medicinal plant. I plan on growing chili peppers to dehydrate and grind into chili powder and hopefully we will have a few banana peppers for pickling. These seeds haven’t sprouted yet, and may take up to two weeks to do so. I’m already checking them every day though, hoping to see some green.
**The different varieties of pepper plants look the same, just as different varieties of tomatoes. Use stick-on labels. Trust me. **

With peppers, it is wise to plant them in different areas of the garden to avoid cross-pollination.
Cabbage
Cabbages are cool weather plants and they sprout within 3-4 days of being placed in dirt with a little water.. I started the cabbage seeds in a plastic container that once held blueberries bought from the store. I placed a folded paper towel in the bottom, filled the container with potting soil and sprinkled the tiny seeds on top. No need to cover them. You can already see the tiny sprouts in the picture below. The cabbage plants can go into the garden as soon as they are about 6-8 inches tall. They are more resistant to the cold and thrive in cooler weather.

Other Early Start Vegetables
Garlic is another cool weather vegetable. Garlic tends to do better in a raised bed, container or grow bag, in my experience. To start garlic, I buy organic garlic from the grocery store mid-winter, place it in the bottom drawer of the fridge and forget about it. Then in late February or early March the cloves usually have a tiny green stalk growing from one end. I separate the cloves and place them in the dirt with the green facing up and give them some water. It is much easier to keep the weeds in check around the garlic in a raised bed or container. Grow bags work great as well. You can purchase grow bags online, but I use empty animal feed bags. We always have so many of the feed bags on hand anyway, so I re-purpose them for growing vegetables. I don’t have a picture of a functioning grow bag of my own because I didn’t have time to start one this week. I borrowed the pictures below from Google.


Carrots and radishes are both early start vegetables. They also grow well in raised beds or containers. Once the dirt is ready, just sprinkle the tiny seeds on top, spray gently with water and anxiously look for any sign of a sprout for 1-2 weeks. Lettuce can be started and grown in the same way.
Cleaning and Preparing the Garden Spot
I never clean up my garden at the end of the growing season. I leave everything to decay and become a winter haven for birds and a place for pollinators to shelter. This is how my garden looks now. The tomato cages are stacked. If you’ll notice, they are still covered with dead vines. It is much easier to stack them and burn the vines away from the metal cages than it is to fight with pulling or cutting them away. The ash from the fire is good for the garden soil as well. Once the old vines are burned away, any stalks still standing will be chopped and tilled under the soil. We use a garden tiller to break the ground every year. The ground is very hard and it will usually take running the tiller over the entire garden several times before the ground is ready for planting.


Once the garden is prepared and the last frost of the year has come and gone, the rest of the vegetables can be sown directly into the garden. Seeds for cucumber, green beans, corn, okra, and squash can be planted directly into the ground about ½ -1 inch deep. Cover, water, and wait.
Fertilizer
We raise rabbits. One of the benefits of rabbits is their manure (little pellets that look like Cocoa Puffs.. I actually had my daughter convinced that rabbit poop was where cereal comes from at one point 😂) can be used as fertilizer without having to be composted first. The rabbit manure can be spread on the garden and tilled into the ground before planting.

I also have a recipe that was handed down for a home-made version of Miracle Gro.
1 gallon of water
1 tablespoon epsom salt
1 teaspoon baking soda
½ teaspoon ammonia
That’s it. Mix well and use it to water seedlings or grown plants once every 1-2 weeks.
Small Spaces
I live in an 800 sq foot house. I have a lemon tree in a bucket that lives inside all winter. I could find space for a tomato plant and pepper plant in buckets and probably a grow bag of potatoes or carrots inside. I have grown rosemary in a Minnie Mouse planter from the Dollar General on the kitchen counter.

If you want independence from the toxic food system and you have the desire to grow fresh, healthy food, you CAN find a way. It takes determination and commitment, but it CAN be done.
It’s all about freedom!
Six months ago, I moved from the city to a one acre in the middle of seventy-two acres of corn. I am excited to start my first garden. Your newsletter is quite valuable.
Love this article! So much useful info. I save toilet paper and paper towel rolls to start my seedlings. Then I can just plant directly in the ground.