


Homemade Sandwich Bread
Tasty Tuesday Edition 2

Even before we were homesteaders we knew we wanted to eat healthier. We started to see the toxicity and dangers of the food system in our country and began making changes that eventually led us away from the ultra-processed and toxic foods. We couldn’t afford to throw everything out and start fresh with all organic foods and ingredients so we transitioned slowly. Whenever we ran out of an item, we replaced it with a better option until both the fridge and pantry were stocked with “real” or organic foods. This was before we moved out of the city where we didn’t have space for a garden.
During this transition, we tried several different brands and types of bread, but I never really loved any of them so I decided to learn to make my own. I wanted a recipe that didn’t require a special bread flour or any special ingredients. I wanted to be able to make my bread with staples that were normally kept in my pantry. Over several years I tried multiple recipes and couldn’t get the texture that I wanted in a plain white sandwich bread. Finally, two years ago I made one, that to me, was the perfect batch of bread. Thankfully, I have always been able to consistently re-create the results and wanted to share what I have learned.
INGREDIENTS
2 cups of warm water
5 1/2 cups all purpose flour ( and maybe 1/4 cup extra for coating your hands and the work surface)
2 1/4 teaspoons (or one packet) of dry active yeast
2 teaspoons salt (optional)
1/4 cup brown sugar
1/4 cup melted butter
Most bread recipes don’t stress the importance of doing things at the correct temperature. When it comes to bread, temperature at the different stages is very important. Temperature Matters!
Even the temperature inside the house matters for activating the yeast and proofing the dough. For optimal results the temperature in the room should be between 73-80 degrees F.
INSTRUCTIONS
I use my stand mixer for kneading the dough. To start, put two cups of warm water in the mixer bowl. It is best if the water temperature is around 105 degrees F. This is the perfect temperature to activate the yeast without killing it. If the water is too cool the yeast won’t activate and if the water is too hot, it will cook the yeast. So, it is very important to have the water at around 105 degrees when adding the yeast.
Add the yeast to the warm water, immediately add the brown sugar and whisk together. The sugar will feed the yeast and help it activate into a nice foamy mixture. It can take about 10 minutes for the yeast to activate and the layer of foam to appear. There will be a nice layer of foam on top of the water when the yeast is ready.


When the yeast is ready, add the flour, butter and salt. ** If you melt the butter on the stove-top or in the microwave (microwaves are evil, but I’m aware that people still use them) and it is steaming hot, allow it to cool before adding it to the yeast mixture so that it doesn’t kill the yeast. If it is still very warm, add the flour first and then add the butter on top of the flour so the flour protects the yeast.**
When all ingredients are combined use the stand mixer with the dough hook to knead the dough for about 8 minutes. The dough will be sticky and you will need to use heavily floured fingers or spatula to scrape it away from the hook.


Make yourself a work surface by flouring a clean countertop. I cheat on this step sometimes to make clean-up faster, by putting a piece of parchment paper or butcher paper on my clean countertop and sprinkle the flour onto the paper to use as my work surface.
Use a heavily floured hand or spatula to scrape the dough out of the bowl and onto the floured work surface. Sprinkle flour across the top of the dough and use floured hands to knead the dough for about a minute and form it into a ball. It shouldn’t be as sticky at this point. Place the ball of dough back into the mixing bowl (or a different clean bowl), cover with a damp dish towel or flour sack towel and place in a warm area for the dough to rise. The dough will be ready for the next step once it has doubled in size. This can take as long as 2-4 hours.


After the dough has doubled in size, use your fist and punch a hole deep into the middle of the dough. Then punch the rest of the dough down into the bowl. It’s a great way to work out some frustrations :) .
Then scrape the dough out of the bowl back onto the floured work surface. Knead the dough by pressing it flat with your hands and then folding the edges into the middle. Repeat this process for about 2 minutes and then form the dough into a disc shape.
Use a knife or pastry cutter to divide the disc into two even halves. Move one half to the side and use the floured work surface to work with one of the halves.
Shape the piece of dough into a smaller disc. Flatten slightly with your fingers and then use a floured rolling pin to roll the dough flat to about 1 inch thick. Use your fingers to roll the flat dough into the shape of a log.


Repeat this process with the second half and place both small logs of dough into bread pans. I prefer cast iron, but use your preferred pan. Cover the pans of dough with a damp towel and place back in a warm space for a second rise. When the dough is above the edge of the pan, it is ready to go into the oven. This can take 1-2 hours.


Place the pans of bread dough into a preheated 350 degree oven and cook for 27 minutes. ** I have learned that ovens cook differently, so you may have to experiment to determine the precise cooking time for your home oven.**
It is very important at this point to sit and catch up on Substack reads while the bread is cooking. Allow the scent of warm bread envelope you in a warm ebrace. Breathe deep. Be prepared to turn away neighbors that might follow their noses to your door. Maybe have a coffee, a cup of tea or a glass of wine while you anticipate that first bite.
When the bread comes out of the oven, you can brush the top with more melted butter or use another of my “cheats” and simply rub the tops with the end of a stick of butter. Either one coats the loaves nicely.
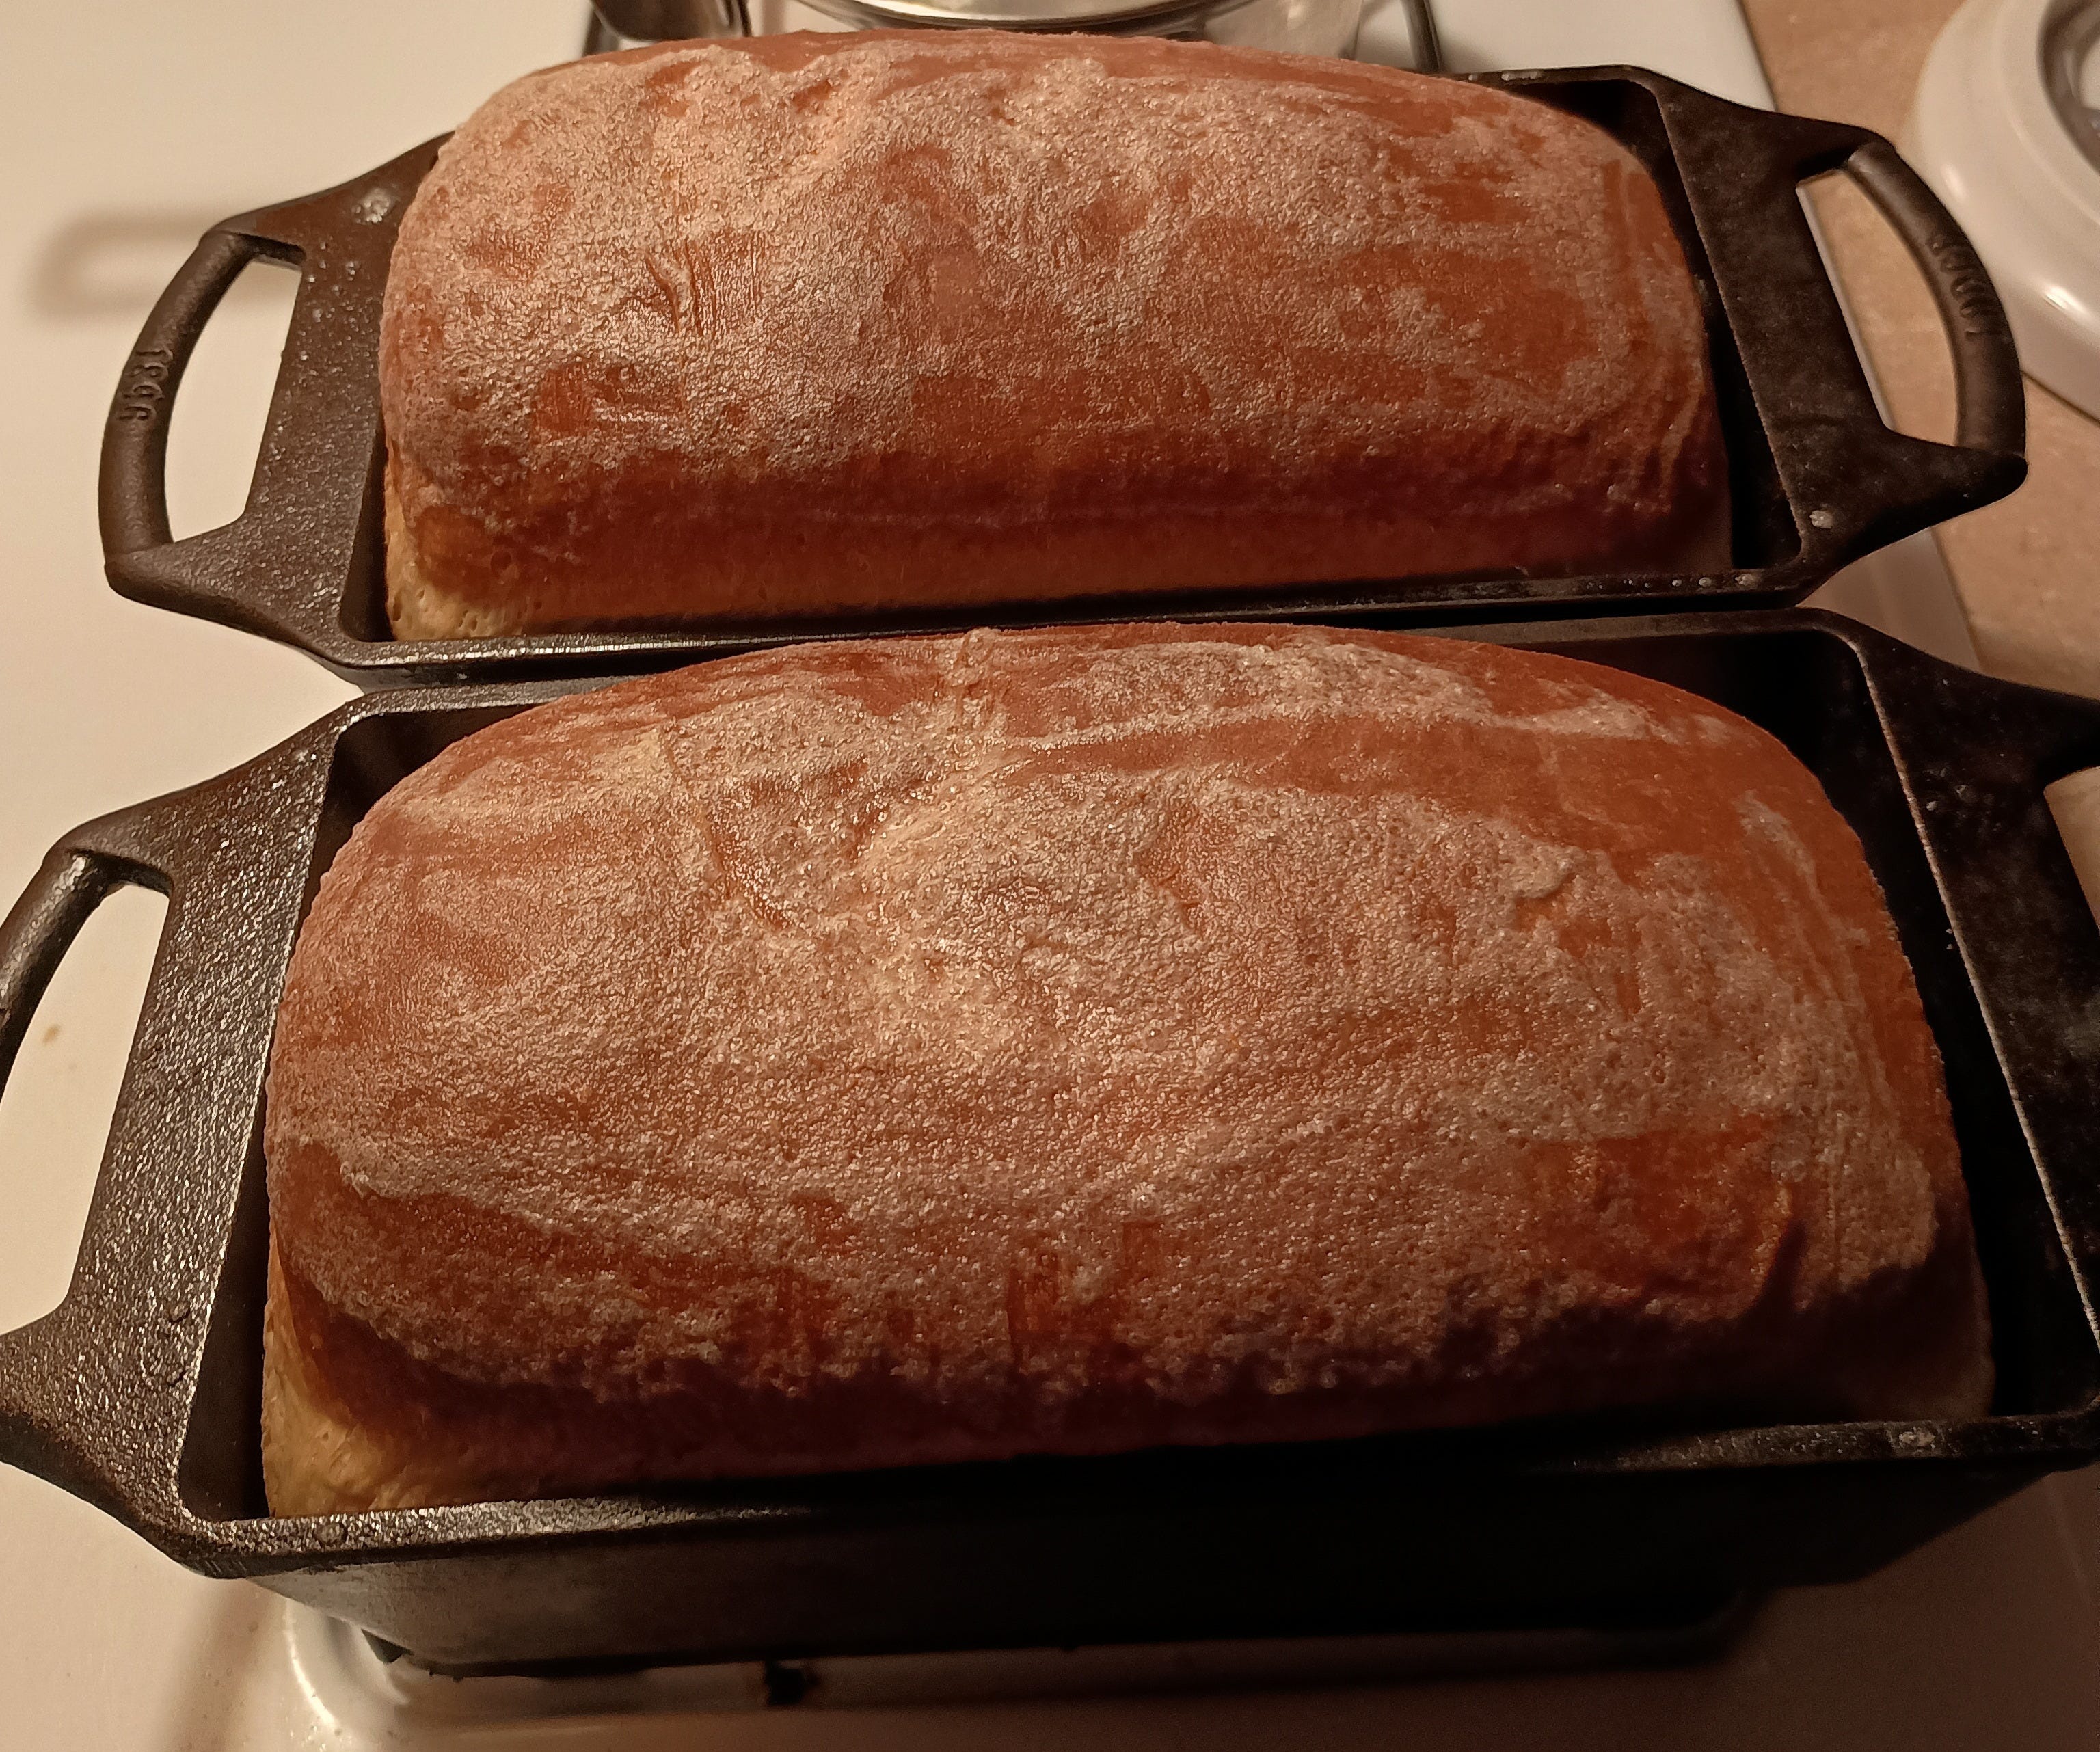
Allow the bread to cool in the pans for about 10-15 minutes then remove the bread from the pans and place the loaves on a cooling rack to finish cooling.
All the recipes say to allow the bread to cool completely before slicing. But I can never, ever wait that long. And honestly, why would you want to? Warm bread with butter and jam is one of life’s simple pleasures!
This bread is perfect for sandwiches. Even though it does comes out soft and moist, the texture is different from store bought bread, so if regular store bought bread is the only bread you are accustomed to eating, give yourself time to adjust to the texture. It isn’t pasty like the stuff from the store.
Now you’ve worked hard and should take great pride in your tummy-warming, tasty, bread! Enjoy :)
I hope this inspires y’all to attempt this recipe. I promise it’s worth it.
*Thank you to my Kiddo for taking the pictures for this post.
*** Pro tip: Always, Always, Always completely wash your hands with hot soapy water after handling any uncooked product containing active yeast. Touching the dough before it is cooked and then touching your nose, mouth, ears, or any other part of your body, can cause a yeast overgrowth and an infection.***
If you enjoyed this post, please consider buying a coffee to show your support. Thank you!
Love this! Reminds me of the Mortadella Focaccia sandwich recipe I adapted from L.A.-based Roman cuisine restaurant Mother Wolf for easy home cooking!
check it out:
https://thesecretingredient.substack.com/p/recreating-evan-funkes-la-mortazza
My mouth is watering. I'd make your recipe, but I've sworn off grains and sugar until I shed some unwanted pounds, and then only add them (grains and sugar) back sparingly to avoid regaining the weight. I love making yeast and sourdough bread, which I was doing regularly while my weight gradually crept up. Sadly, grains and sugar are like drugs to my body, and I've found that severely restricting them makes me feel and look so much better.
Sandwiches are a favorite of mine and I had yet to find a recipe I really liked for sandwich bread. One of these days, or months I'll try your recipe. Thanks for sharing it.